By Cognito Supply Inc. | Pottery Equipment Rentals in Pennsylvania
Every handmade pottery mug has a story. It doesn’t start on a store shelf. It starts as a cold, wet lump of clay and passes through over a dozen steps and two rounds of kiln firing before it’s ready to hold your morning coffee.
If you’ve ever wondered what goes into making a single handmade mug — and why handmade pottery costs more than a factory-made cup from a big-box store — this post is for you.
Let’s walk through the journey, step by step.
1 Choosing the Clay
Not all clay is created equal. For a functional mug that’s durable, food-safe, and holds heat well, most potters choose stoneware clay — a mid-to-high-fire clay body that matures around Cone 6 (approximately 2,232°F / 1,222°C).
Popular choices include:
- Speckled Buff Stoneware — for that rustic, earthy look
- Porcelain — for a smooth, refined, white finish (harder to work with)
- Dark Stoneware — for moody, rich, modern aesthetics
The clay you choose affects everything: the color, the texture, the weight, and how glazes look on the surface.
2 Wedging
Before the clay touches the wheel, it must be wedged — a process similar to kneading bread dough. Wedging serves two purposes:
- Removes air bubbles (which can cause pieces to explode in the kiln)
- Creates a uniform consistency so the clay responds evenly on the wheel
Most potters wedge for about 3–5 minutes. It’s a full-body workout, and it’s non-negotiable.
3 Centering on the Wheel
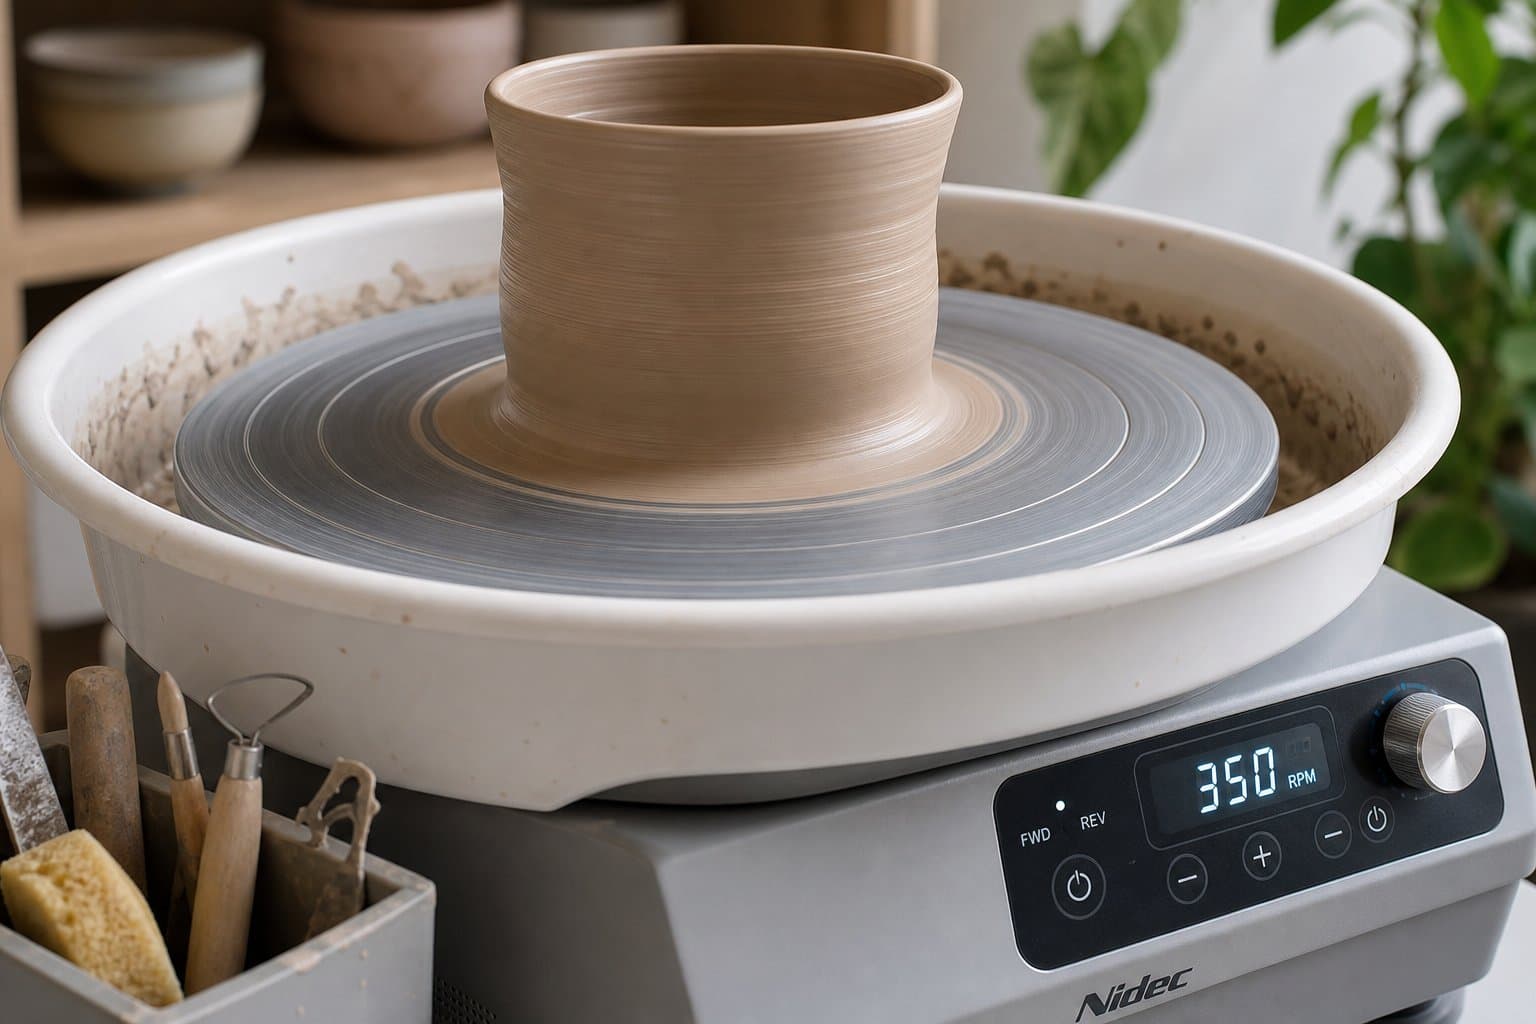
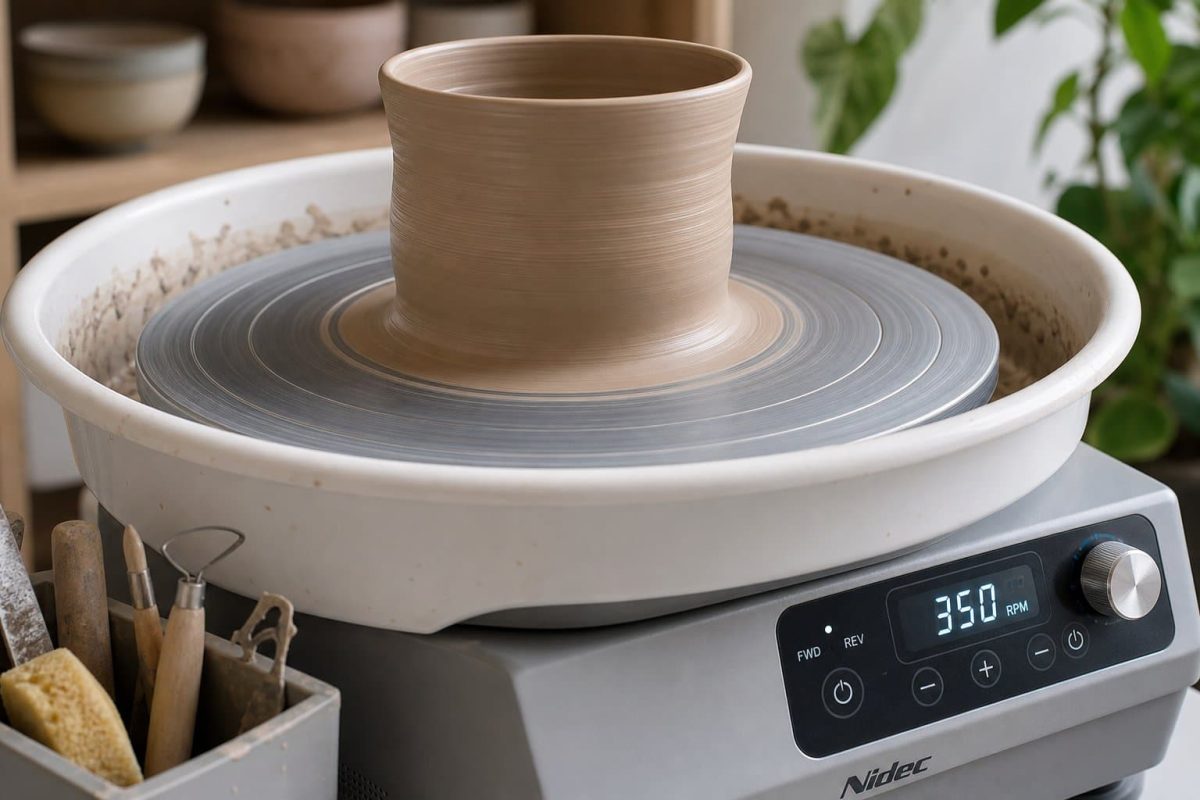
This is where the magic — and the frustration — begins. The potter places the wedged clay onto a spinning pottery wheel and forces it into perfect center using both hands and steady pressure.
Centering is the single most important skill in wheel throwing. If your clay isn’t centered, every step after this will be a struggle. Beginners can spend weeks just learning to center consistently.
4 Throwing (Forming the Mug)
With the clay centered, the potter:
- Opens the clay by pressing a thumb or fingers into the center to create a hollow
- Pulls the walls upward by squeezing between the inside and outside fingers
- Shapes the cylinder into the desired mug form — taller, wider, tapered, curved
A skilled potter can throw a mug body in 3–5 minutes. A beginner might take 20 — and collapse a few along the way. That’s part of the process.
5 Drying to “Leather Hard”
The freshly thrown mug is too soft to handle. It needs to dry to a stage called leather hard — firm enough to hold its shape but still damp enough to carve, trim, and attach a handle. This usually takes 12–24 hours, depending on humidity and airflow.
6 Trimming the Foot
The potter flips the mug upside down on the wheel and uses trimming tools to carve a “foot ring” on the bottom. This gives the mug a clean, finished base and removes excess clay to lighten the piece.
Trimming is where the mug gets its final profile and balance. A well-trimmed mug feels right in your hand — not too heavy, not too thin.
7 Pulling and Attaching the Handle
The handle is formed by pulling — a technique where the potter stretches a piece of clay with wet hands into a smooth, tapered strip. The handle is then attached to the leather-hard mug body using scoring and slip (scratching the surface and applying liquid clay as glue).
The handle’s shape, curve, and attachment points determine how comfortable the mug is to hold. This is one of the most personal parts of a potter’s style.
8 Final Drying (Bone Dry)
The completed mug must now dry completely — a stage called “bone dry.” Any remaining moisture in the clay will turn to steam in the kiln and cause the piece to crack or explode.
This stage takes 3–7 days, depending on climate and the thickness of the piece. Patience is essential. Many potters loosely cover their work with plastic to slow the drying and prevent cracks.
9 Bisque Firing (First Kiln Firing)
The bone-dry mug goes into a kiln for its first firing, called the bisque fire. This firing typically reaches around Cone 06 (1,828°F / 998°C) and takes 8–12 hours, plus another 12–24 hours to cool.
The bisque fire:
- Burns out all remaining water and organic material
- Hardens the clay permanently (it can no longer dissolve in water)
- Leaves the surface porous — ready to absorb glaze
10 Glazing
Now the fun part. The bisque-fired mug is coated with glaze — a mixture of silica, flux, and colorants that, when fired, melts into a glassy, food-safe coating.
Glazing methods include:
- Dipping — submerging the mug in a bucket of glaze (most common)
- Brushing — applying glaze with a brush (good for detail work)
- Spraying — using a spray gun for even, controlled coats
The potter must wipe the bottom clean of glaze, or it will melt and fuse the mug permanently to the kiln shelf. (Yes, this happens. And yes, it ruins both the mug and the shelf.)
11 Glaze Firing (Second Kiln Firing)
The glazed mug goes back into the kiln for a glaze fire — typically at a much higher temperature, around Cone 6 (2,232°F / 1,222°C) for stoneware.
This firing:
- Melts the glaze into a smooth, glassy surface
- Fully vitrifies (densifies) the clay body
- Takes another 8–12 hours to fire, plus 24 hours to cool
You cannot open the kiln early. Rapid cooling causes thermal shock and cracks. The wait is agonizing, but it’s non-negotiable.
12 The Reveal
After 24+ hours of cooling, the kiln is opened. This moment — called the kiln opening — is one of the most exciting parts of pottery. Colors shift, textures emerge, and sometimes the results are completely unexpected.
The mug is inspected for:
- No cracks
- Smooth glaze (no pinholes or crawling)
- Level base (no rocking)
- Clean foot (no glaze stuck to the bottom)
If it passes inspection, it’s done. A handmade mug, born from earth and fire.
The Timeline at a Glance
| Step | Time Required |
|---|---|
| Wedging + Throwing | 15–30 minutes |
| Drying to Leather Hard | 12–24 hours |
| Trimming + Handle | 20–40 minutes |
| Drying to Bone Dry | 3–7 days |
| Bisque Firing + Cooling | 24–36 hours |
| Glazing | 15–30 minutes |
| Glaze Firing + Cooling | 24–36 hours |
| Total | ~1 to 2 weeks |
That’s right — a single mug takes one to two weeks of working time, drying time, and firing time. And that doesn’t include the months or years of practice it took the potter to develop the skill to make it.
Why This Matters
The next time you hold a handmade mug, know that it passed through fire twice, was shaped by human hands, and took over a week to complete. It’s not just a cup — it’s a small piece of someone’s craft, patience, and artistry.
And if you’ve read this far and thought, “I want to make one myself” — you absolutely can.
Start Your Pottery Journey Today
Rent the equipment you need at Cognito Supply Inc. and go from clay to cup on your own terms. No massive investment. No maintenance. Just you, the clay, and the wheel.